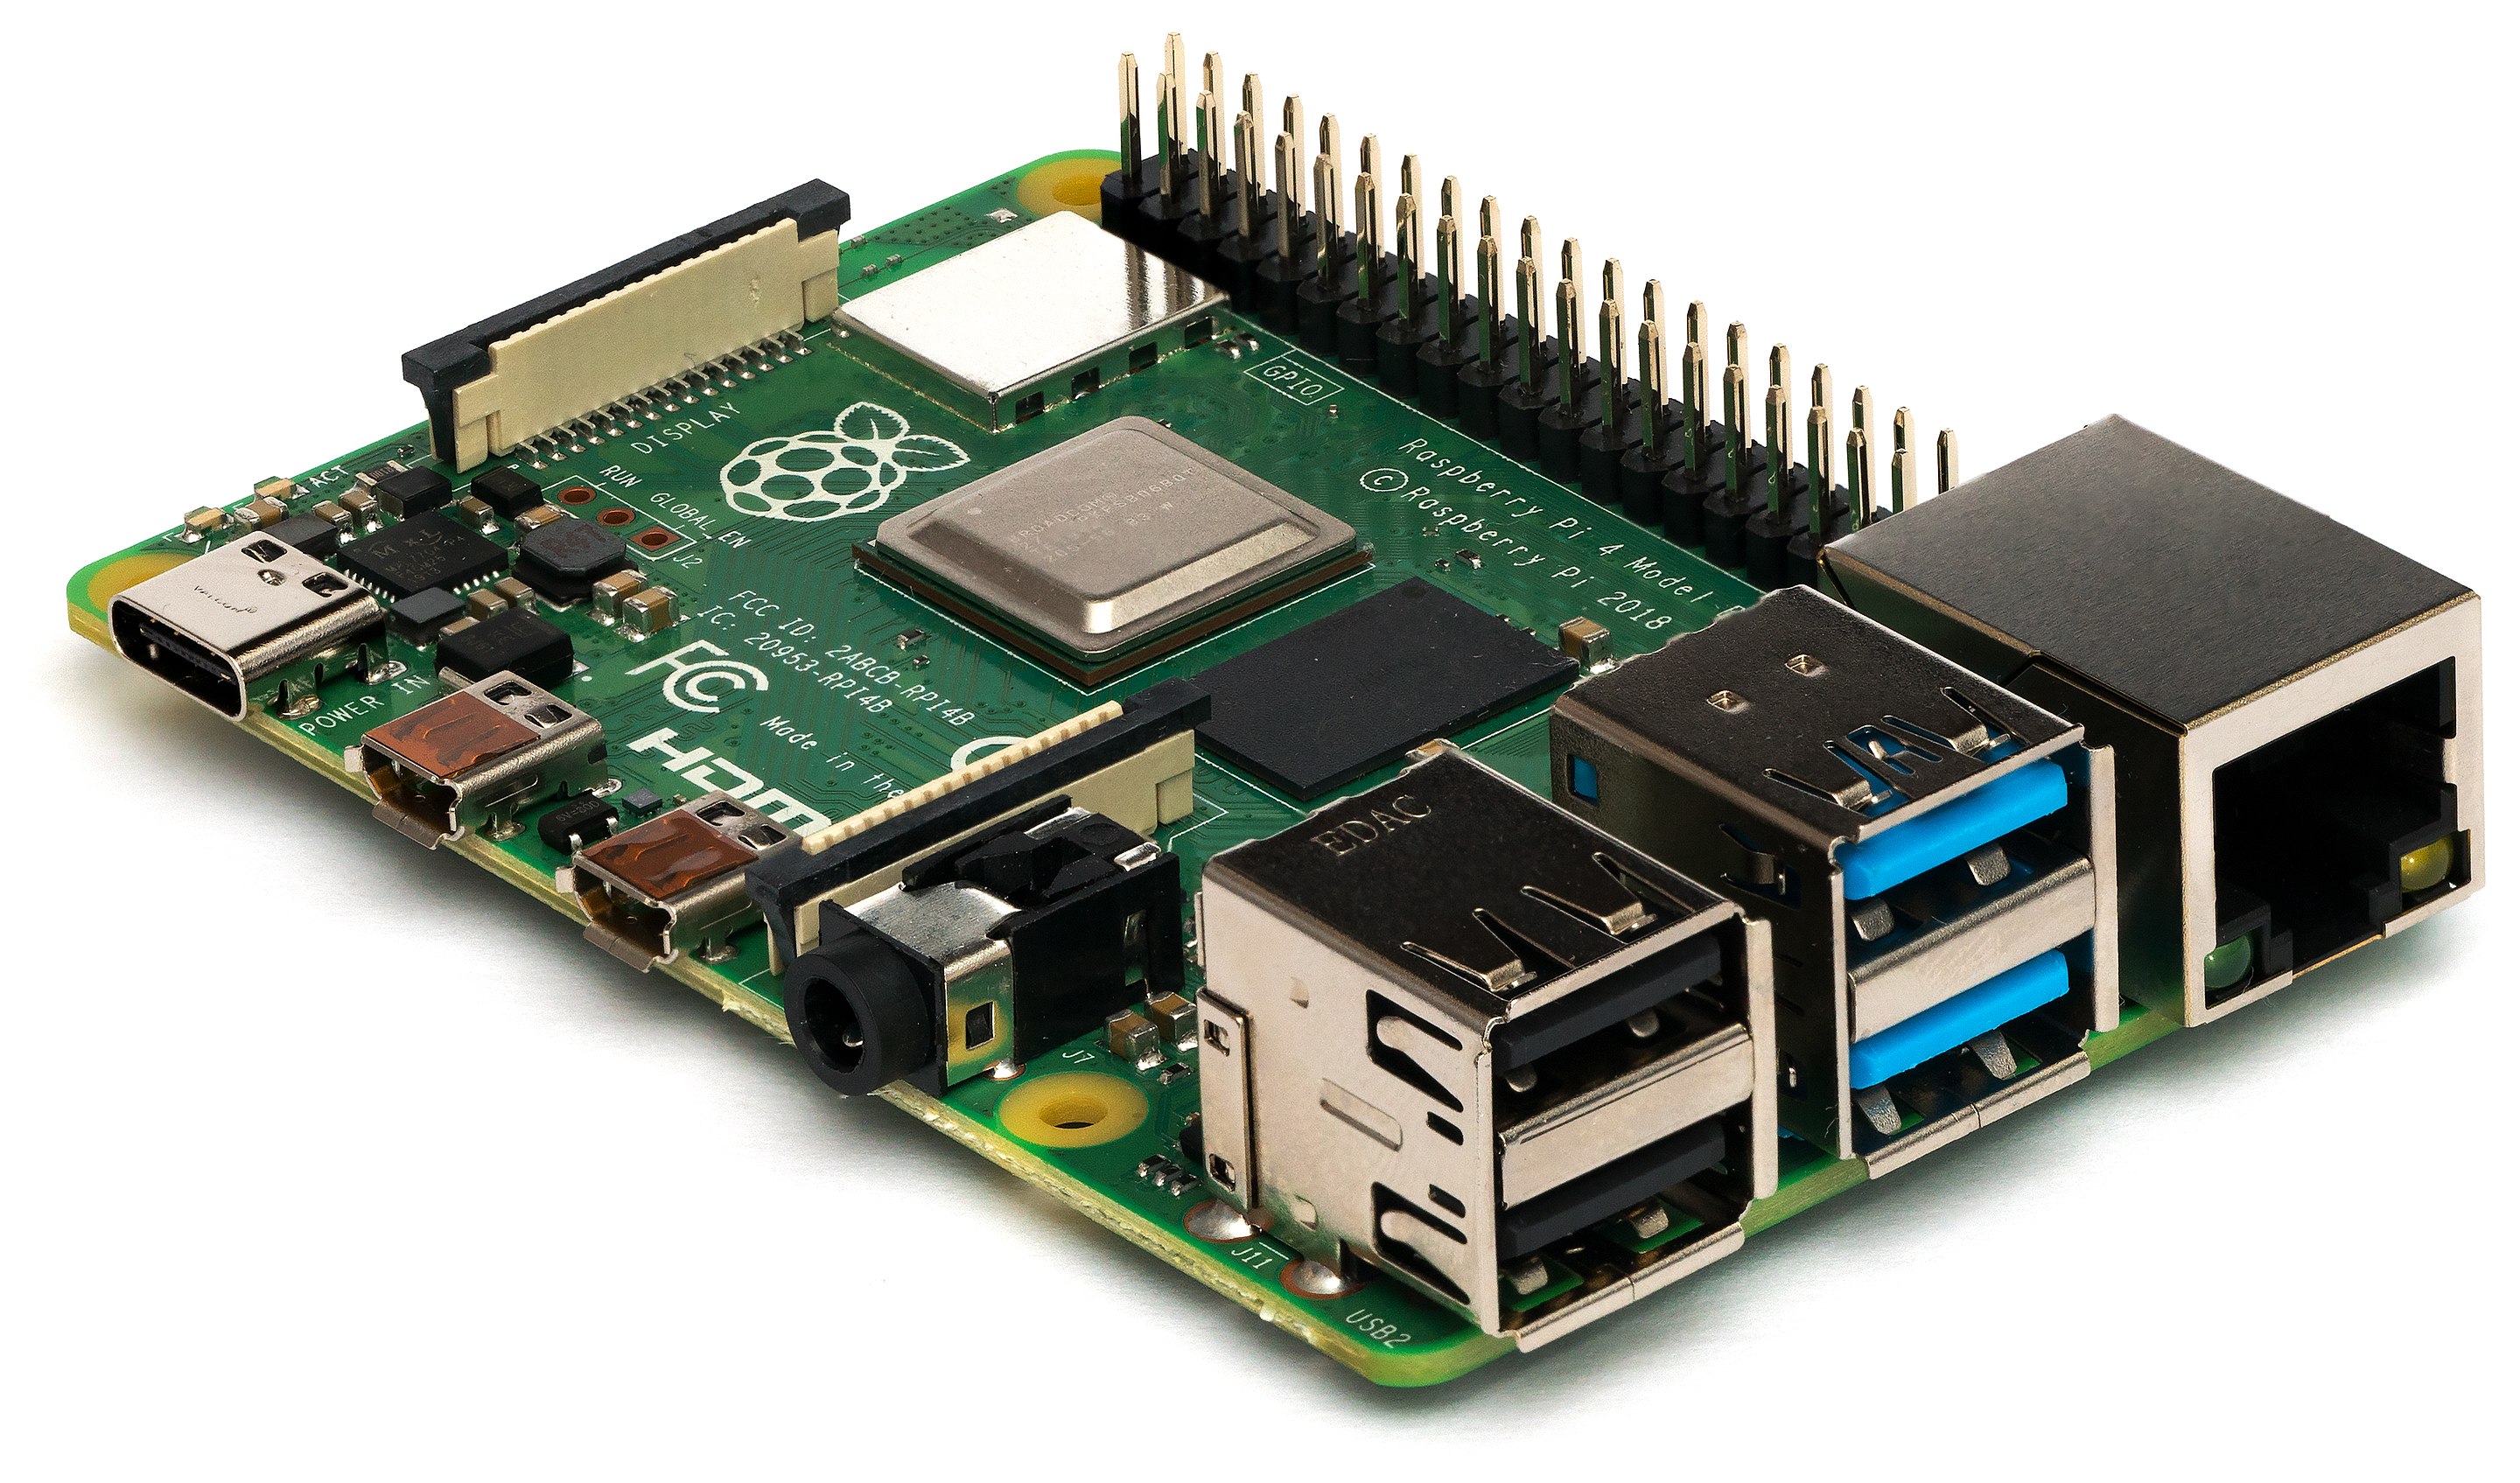
![]() Network File System (NFS) was created by Sun Microsystems to share resources over networks. It is similar to SAMBA shares that are popular on Windows, Mac and Linux systems for their convenience. NFS shares are usually more popular on Linux systems, they may use less CPU overhead than SAMBA shared (see SAMBA benchmarks on Raspberry and Banana Pi).
Network File System (NFS) was created by Sun Microsystems to share resources over networks. It is similar to SAMBA shares that are popular on Windows, Mac and Linux systems for their convenience. NFS shares are usually more popular on Linux systems, they may use less CPU overhead than SAMBA shared (see SAMBA benchmarks on Raspberry and Banana Pi).
At A Glance: Our Top 5 Picks For PI Units
- Our Top Pick: Raspberry Pi 3
- Raspberry Pi 2
- Raspberry Pi
- Banana Pi
- Banana Pi Pro
I plan to compare the two sharing systems in the future. NFS can be used by Kodi XBMC and OpenELEC for accessing media over a network so you can stream your video files with ease. This guide shows how to turn your Raspberry Pi into an NFS client and NFS server.
Our Top Pick | Raspberry Pi 3 |
| VIEW LATEST PRICE → |
 | Raspberry Pi 2 |
| VIEW LATEST PRICE → |
 | Raspberry Pi |
| VIEW LATEST PRICE → |
 | Banana Pi |
| VIEW LATEST PRICE → |
 | Banana Pi Pro |
| VIEW LATEST PRICE → |
I want to see the top picks for PI Units
Configure NFS Server and NFS Client Raspberry Pi
I have divides this tutorial into the NFS server and client sections.
Configure NFS Server
Install NFS server components
sudo apt-get install nfs-common nfs-server -yCreate the nfs server shared folder, you can use an existing folder as well
sudo mkdir /mnt/nfsserverIf you only plan on using the share locally and don't want to mess with permissions, give the mount point you just created liberal permissions. /mnt/nfsserver represents the folder on your NFS server you want to share.
sudo chmod -R 777 /mnt/nfsserverOpen the NFS exports file where you configure the paths to share and their permissions
sudo nano /etc/exportsThis is the syntax for the NFS shares and permissions.
/mnt/nfsserver represents the path to share on the Raspberry Pi
IP represents the IP address or range and (access) restricts certain types of access like read and write (rw) or read only (ro)
/mnt/nfsserver IP(access)Using a wildcard you can grant access to all IP addresses which is of course insecure.
It is important not to put a space between the * and the (rw,sync) as it changes the permissions
/mnt/nfsserver *(rw,sync)You can also specify a machine or node on the network by its IP
/mnt/nfsserver 192.168.1.34 *(rw,sync)You can choose to restrict access to a whole IP range like your entire home network. The /24 represents the subnet mask of your network.
/mnt/nfsserver 192.168.1.0/24 *(rw,sync)If you only want read only access for your NFS clients change rw to ro
/mnt/nfsserver 192.168.1.10/24 *(ro,sync)Tell NFS to read your newly created exports file
sudo exportfsYou may get an error in which case enable rpcbind (thanks TechKarma)
sudo update-rc.d rpcbind enable
sudo service rpcbind restart
Configure NFS Client
Install the NFS tools
sudo apt-get install nfs-common -yCreate the mount point for your NFS share, this is the local virtual folder you will use to access the folder on the NFS server
sudo mkdir -p /mnt/nfsChange permission of the NFS mount point to pi
sudo chown -R pi:pi /mnt/nfsTest mounting the NFS share path on your Raspberry Pi. Replace the first section with the IP address of your NFS server and its share path, replace /mnt/nfs with the local virtual mount path you created in the previous step
sudo mount 192.168.1.36:/mnt/nfsserver /mnt/nfsTo make the NFS share automount on boot open up your fstab file
sudo nano /etc/fstabAdd this line but adjust your IP and mount points (/mnt/nfs), rw stands for read/write so if you only have read access change rw to ro
192.168.1.36:/mnt/nfsserver /mnt/nfs nfs rw 0 0Ctrl+X, Y and Enter to save
If you are trying to use NFS with Kodi and cannot browse deep enough in your directories change your line in /etc/exports to something like this (thank you Loose Nut, source)
/mnt/usbstorage 192.168.1.10/24(rw,no_subtree_check,async,insecure)That covers a basic NFS server and NFS client on Linux
