 CouchPotato is the only solution for automating your feature length video downloads from Usenet or Torrents. It works with Sabnzbd and NZBget for Usenet with a provider like UsenetServer. For torrents it will work with Transmission and uTorrent on Mac OSX. My Install CouchPotato Mac OSX guide will get it autostarting on boot as well using either a plist script or Automator Login item.
| Usenet Provider | |||||||
|---|---|---|---|---|---|---|---|
| UsenetServer | |||||||
| Newshosting | |||||||
| Frugal | |||||||
| Usenetlink |
Install CouchPotato Mac OSX
Most of this will be done in the Terminal simply because it is much easier this way. All you have to do is copy and paste these commands.
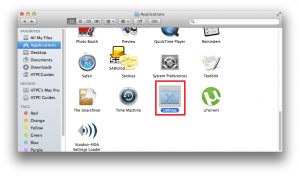
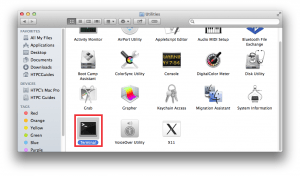
You can find Terminal in Applications -> Utilities
Now Scroll down to Terminal and open it
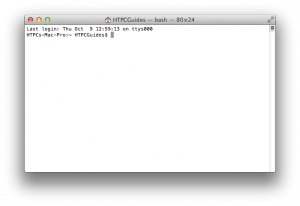
The Mac Terminal is white.
Install Dependencies
CouchPotato needs command line tools on the Mac in order to make all of this easier. Open up Terminal.
Install command line tools
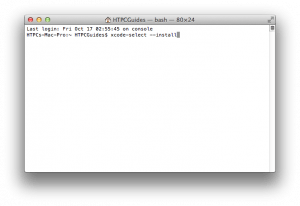
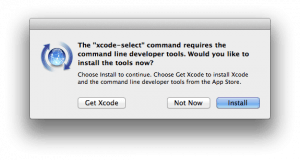
xcode-select --installYou will get a pop up asking to install command line tools. Click Install.
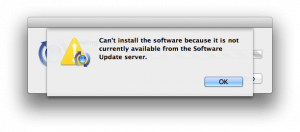
If it says it couldn't be found then you already have command line tools installed
Install CouchPotato
Stay in the Terminal
You are going to git clone the latest CouchPotato package straight from github onto your machine
git clone https://github.com/RuudBurger/CouchPotatoServer.git /Applications/CouchPotatoAutostart CouchPotato at Boot
In terminal paste this command to create the CouchPotato plist file
sudo nano /Library/LaunchDaemons/couchpotato.plistHere is a CouchPotato plist script that I tested and works on Mac OSX Mavericks, it should work on other versions as well.
<?xml version="1.0" encoding="UTF-8"?>
<!DOCTYPE plist PUBLIC "-//Apple Computer//DTD PLIST 1.0//EN" "http://www.apple.com/DTDs/PropertyList-1.0.dtd">
<plist version="1.0">
<dict>
 <key>Label</key>
 <string>couchpotato</string>
 <key>OnDemand</key>
 <false/>
 <key>ProgramArguments</key>
 <array>
 <string>python</string>
 <string>/Applications/CouchPotato/CouchPotato.py</string>
 </array>
 <key>RunAtLoad</key>
 <true/>
 <key>WorkingDirectory</key>
 <string>/Applications/CouchPotato/</string>
 <key>ServiceDescription</key>
 <string>CouchPotato</string>
</dict>
</plist>
Hit Ctrl+X, press Y then Enter to save the plist file and exit the nano text editor.
Now reboot your machine
If the plist method doesn't work you can use my Automator bash script
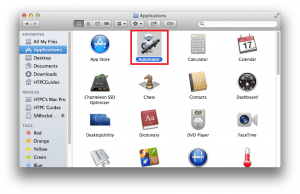
We are going to use Automator to create a CouchPotato startup script.
Open Automator
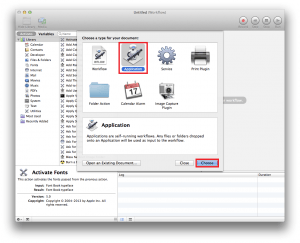
In Automator, choose Application
Make sure the library is shown. The top left corner should show Hide Library.
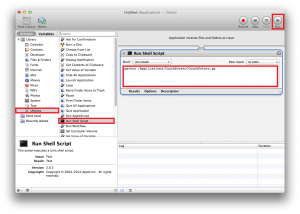
Click Utilities and then double click Run Shell Script and you will see the Workflow pane on the right
Paste this script
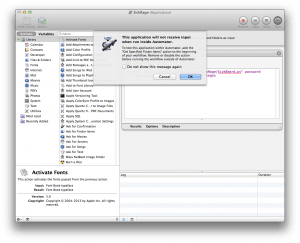
python /Applications/CouchPotato/CouchPotato.pyClick Run in the top right and you will probably see this warning. Check don't show again and click OK.
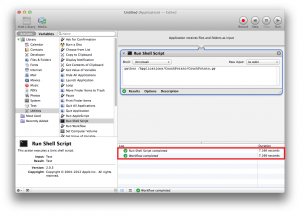
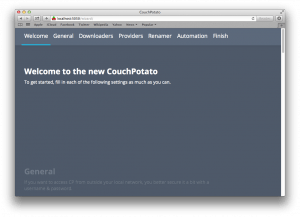
The script will run successfully and CouchPotato has automatically opened the browser window
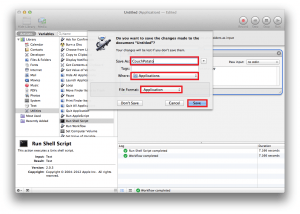
Click the red x to close out of Automator and you will see this screen. Give it a name like CouchPotato and save it in Applications
Make sure the type is set to Application, click Add.
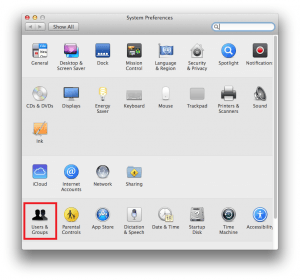
Add it to your log in scripts. Click the Apple in the top left and choose System Preferences, then Users and Groups.
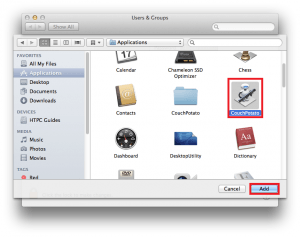
Click Login items and then click the plus sign
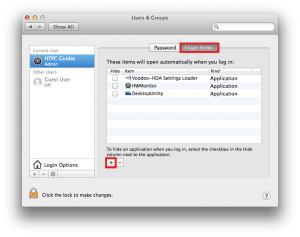
Find the CouchPotato Automator Application
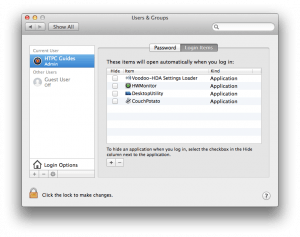
You can now see CouchPotato is added to the login items list.
Whether you use the plist method or the Automator method, CouchPotato should autostart on boot on your Mac OSX device.
Updating CouchPotato
Open up Terminal
Enter the CouchPotato folder
cd /Applications/CouchPotatoUpdate from latest git source
git pullYou can now access CouchPotato at http://ip.address:5050.
Reboot to make sure it all works.
Now you can Configure CouchPotato.

