 NZBMegaSearch is the only search provider you will need. It combines all of your usenet indexers into one search engine. NZBMegaSearch has NZBGet and Sabnzbd integration so you can send your desired release straight to your downloader. You can also use it for services like sonarr (NzbDrone), SickRage, CouchPotato, Mylar and Headphones so that the service will only need to use NZBMegaSearch to look for your content, it won't have to search each individually. You will host this awesome search aggregator service on your home media server which means it will always be on and available. If you do open it up to outside networks, do password protect it and use https for security.
| Usenet Provider | |||||||
|---|---|---|---|---|---|---|---|
| UsenetServer | |||||||
| Newshosting | |||||||
| Frugal | |||||||
| Usenetlink |
Install NZBMegaSearch Mac OSX
Most of this will be done in the Terminal since it is much faster and easier. All you have to do is copy and paste these commands.
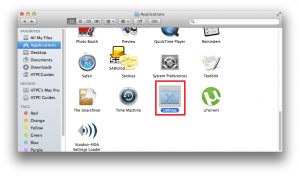
You can find Terminal in Applications -> Utilities
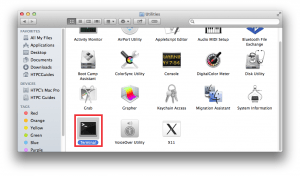
Now Scroll down to Terminal and open it
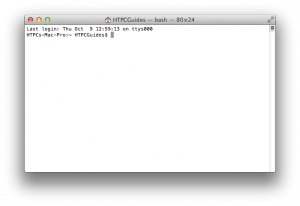
Welcome to the non-intimidating Mac terminal
Install Dependencies
Headphones needs some little tools in order to make all of this easier. Open up Terminal.
Install command line tools
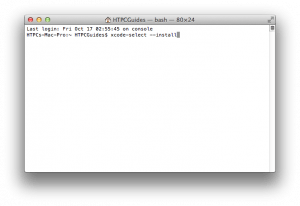
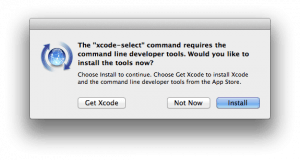
xcode-select --installYou will get a pop up asking to install command line tools. Click Install.
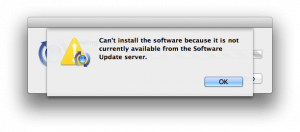
If it says it couldn't be found then you already have command line tools installed
Install NZBMegaSearch
Go to Terminal
Just paste the commands in the terminal and press Enter
You are going to git clone the latest NZBMegaSearch package straight from github onto your machine
sudo git clone https://github.com/Mirabis/usntssearch /Applications/NZBMegaSearchChange the ownership of the NZBMegaSearch, replace yourusername with your username
sudo chown -R yourusername /Applications/NZBMegaSearchNow we want NZBMegaSearch to autostart on boot. Using plist is ideal because it will keep the process alive.
Only use either the plist or the Automator
Here is an NZBMegaSearch plist script that I tested and works on Mac OSX Mavericks, it should work on other versions as well.
Create the plist file
sudo nano /Library/LaunchDaemons/nzbmegasearch.plistPaste this code
        Label
        nzbmegasearchheadphones
        ProgramArguments

                /usr/bin/python
                /Applications/NZBMegaSearch/nzbmegasearch/mega2.py

        KeepAlive
Save the plist by hitting Ctrl+X, press Y and then Enter
Reboot and try to access NZBMegaSearch on your Mac or other machine on your network at http://ip.address:5000
If for some reason it didn't work you can use the Automator method
Do not use Automator if the plist method is working
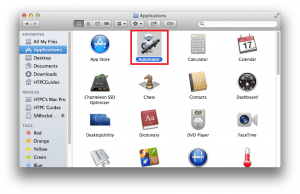
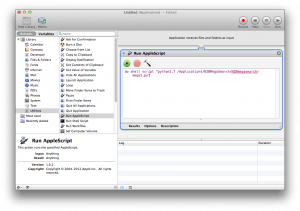
Open Automator
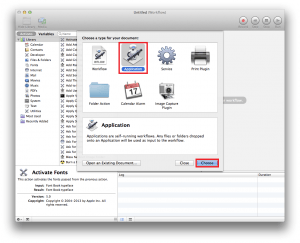
In Automator, choose Application
Make sure the library is shown. The top left corner should show Hide Library.
Click Utilities and then double click Run AppleScript. In the Workflow pane on the right paste this script
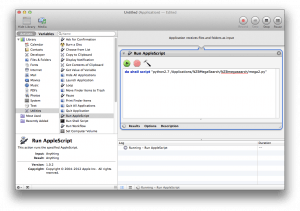
do shell script "python2.7 /Applications/NZBMegaSearch/NZBmegasearch/mega2.py"Click Run in the top right corner
You should see the script running and working
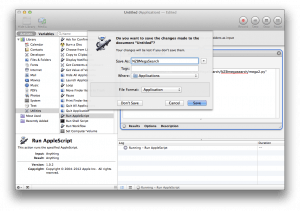
Press the red x to exit out and name the script NZBMegaSearch, make the file format Application and set where to Applications
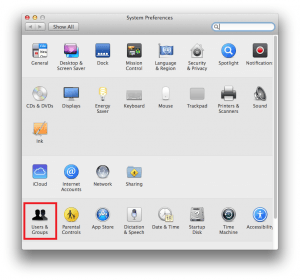
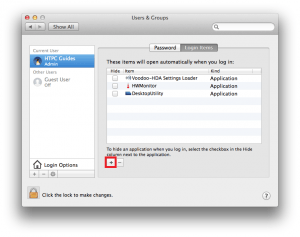
Add NZBMegaSearch to your log in scripts. Click the Apple in the top left and choose System Preferences
Scroll down to Users and Groups
Click the plus sign and then Choose
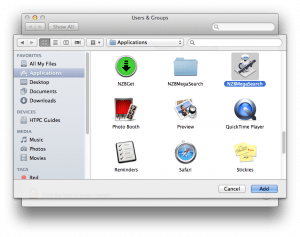
Select NZBMegaSearch in Applications and click Add
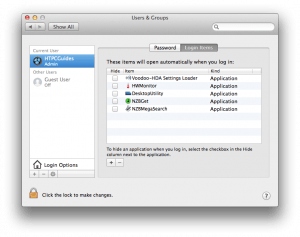
Now you will see NZBMegaSearch added
You can close out
Reboot to test that it's working
Open a browser and point to http://ip.address:5000 to configure NZBmegasearch

