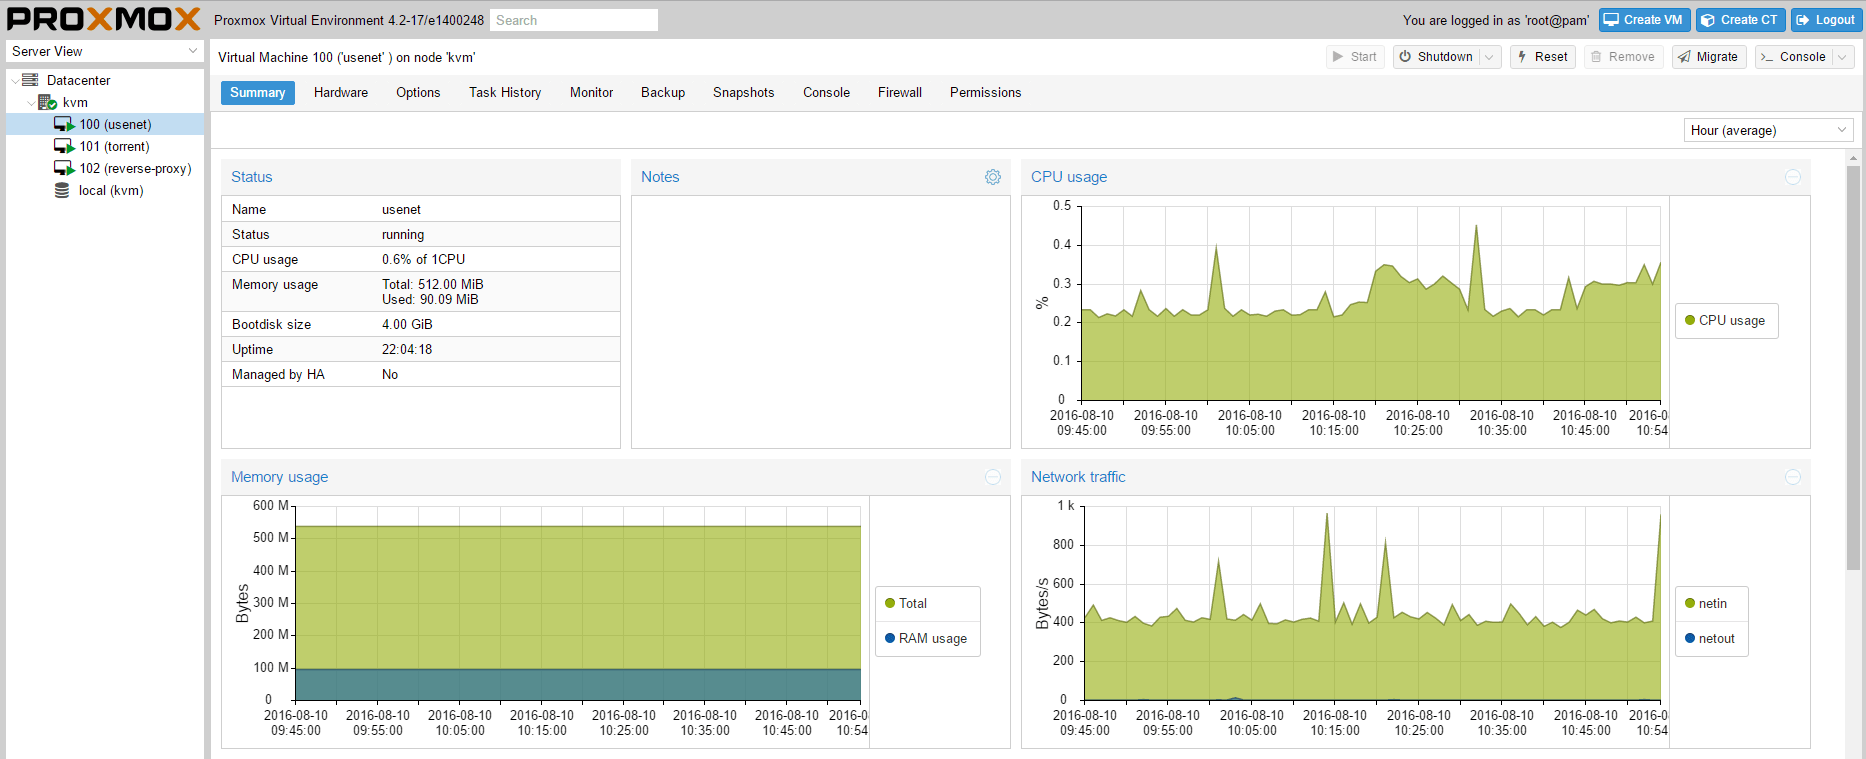
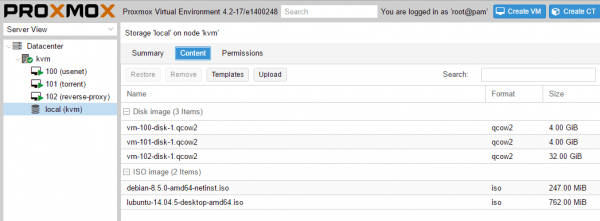
 Proxmox is a free virtual machine manager for your home media server. Proxmox has a minimal debian base and a great web interface for creating and managing virtual machines. With Proxmox you can have separate virtual machines for each component of your home media server. For example you can have one dedicated to usenet which doesn't use a VPN and a torrent virtual machine that is connected to the VPN constantly. Proxmox virtual machine management gives you fine tuned control over your services.
Proxmox is completely free but they do offer subscriptions for enterprise customers. I show you how to remove the license nag in Proxmox and enable distro updates so you do not have to reflash your Proxmox USB each time there is a new version.
I installed Proxmox on an old Dell Latitude E6400 Laptop from eBay which supports virtualization
Install Proxmox Free Virtual Machine Management
Download the latest Proxmox Virtual Environment image from here.
If you are on Windows, rename image iso file to .raw and burn using Rufus.
In Rufus, when you are prompted choose dd mode as the write method which should prevent the cd rom not found error during Proxmox installation (source).
Linux and Mac users should be able to use dd to write the image file.
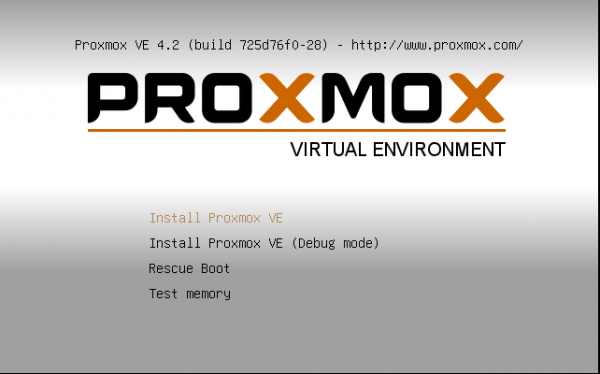
When the machine boots to the USB stick choose Install Proxmox VE
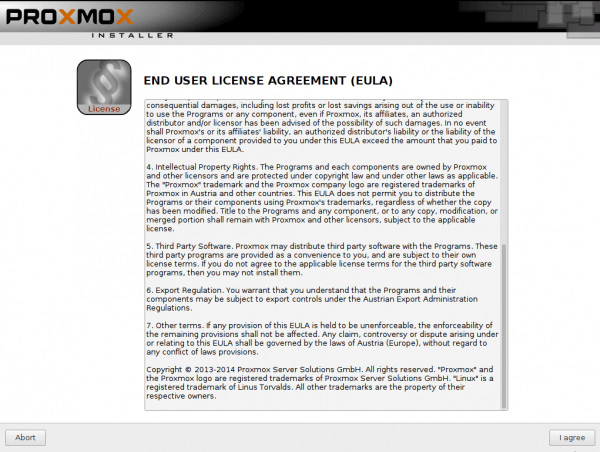
Accept the license agreement by clicking I agree
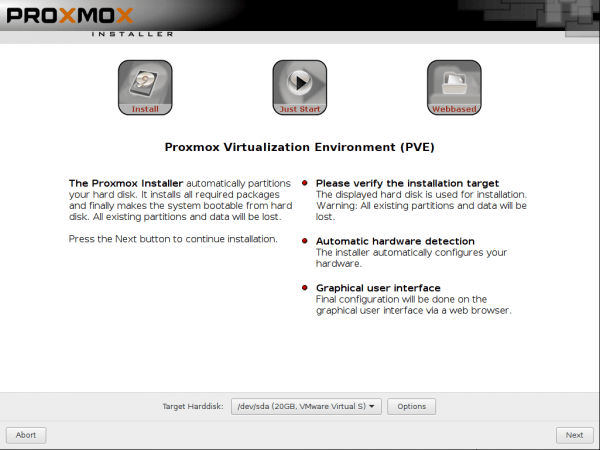
Choose the target hard disk and click Next
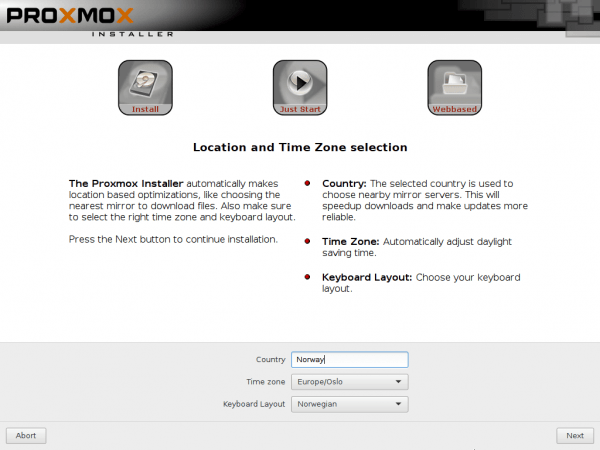
Enter your Country so the locales can be set along with timezone and Keyboard layout
Click Next
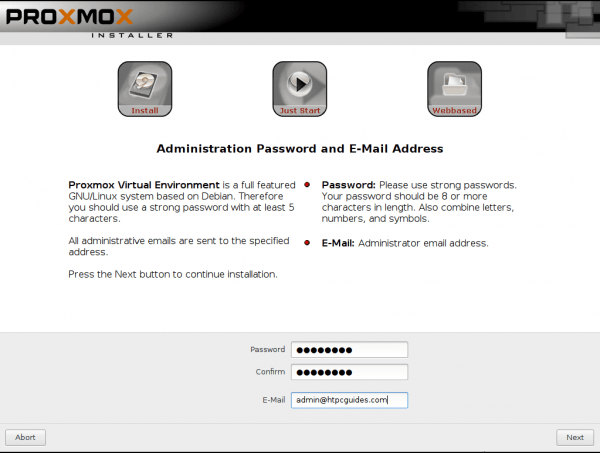
Choose a password, this will be your root user password for SSH and the Proxmox web interface.
You can also enter your Email address to get notifications.
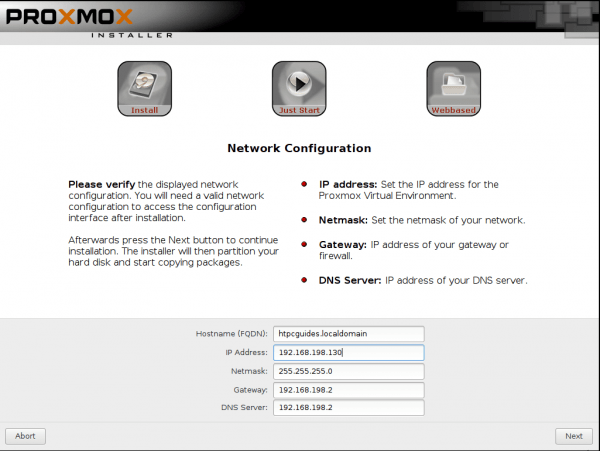
Proxmox will autodetect your IP and gateway for you so unless you know it should be different just click Next.
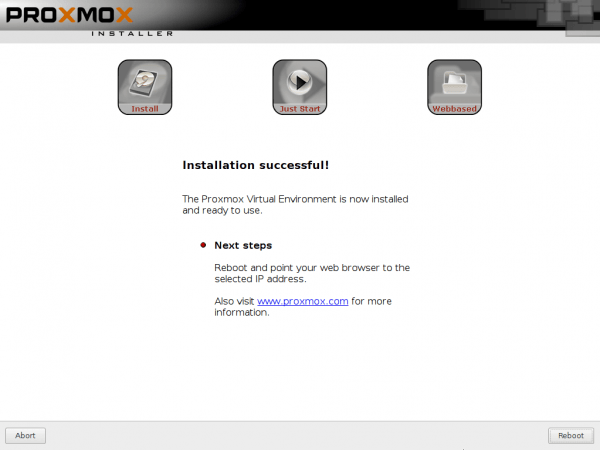
Now installation is complete, click Reboot.
After installation on the boot screen you will see a message showing where you can access the Proxmox Web Interface.
Use root as the username and the password you set during installation. You will get a nag screen that I show you how to remove later in this guide.
https://192.168.198.130:8006Adding ISOs to Proxmox
You can add ISO images to install operating systems by going to the Proxmox web interface or SSH.
Add ISOs to Proxmox with Web Interface
Click the local server in the left pane and click Content
Click Upload and browse to the ISO on your machine
Add ISOs to Proxmox via SSH
If you prefer to use the command line then SSH in to Proxmox with PuTTY on port 22.
Enter this folder where Proxmox stores its ISOs (source).
cd /var/lib/vz/template/isoDownload your ISO using wget, here I am getting the Debian net installer from here.
wget http://cdimage.debian.org/debian-cd/8.5.0/amd64/iso-cd/debian-8.5.0-amd64-netinst.isoNow you will be able to select ISOs in the Proxmox web interface when you create new virtual machines.
Remove the subscription checker and enable simple updates without a subscription all legal
Enable Free Proxmox Distro Updates
By default Proxmox leaves the sources list for Enterprise customers. You can change this to the no-subscription repository (source and here).
SSH into the Proxmox box on port 22 using the root password credentials you set during installation.
Open the PVE sources list.
sudo nano /etc/apt/sources.list.d/pve-enterprise.listReplace the only line with this one for the Proxmox no subscription repository
deb http://download.proxmox.com/debian jessie pve-no-subscriptionCtrl=X, Y and Enter
Now you can update your Proxmox repository and upgrade like this
apt-get update
apt-get upgrade
apt-get dist-upgrade
Changing repository won't remove the Proxmox License nag when you log in to the Proxmox web interface, see how to do that below.
Remove Proxmox License Nag
The Proxmox license nag can be irritating. Especially when you have no intention of ever using Proxmox's Enterprise support. Luckily it is just a javascript file that can be modified.
For Proxmox 4.2 you can remove the license warning with this sed command (source and source)
sed -i.bak "s/data.status !== 'Active'/false/g" /usr/share/pve-manager/ext6/pvemanagerlib.jsYou may need to reboot the Proxmox host which can be done from the Web interface.
If you still see the license nag it is probably because of browser cache so test with a fresh browser or empty the cache.
Promox is now installed and you can start creating your virtual machines.
Prevent Laptop Running Proxmox from Sleeping
I wanted to stash this laptop behind the couch but when I closed the lid the laptop went to sleep.
I managed to fix it thanks to this link
nano /etc/systemd/logind.confThen uncomment (remove #) and change these lines to match, save and reboot
HandleSuspendKey=ignore
HandleHibernateKey=ignore
HandleLidSwitch=ignore
If you want to avoid rebooting Proxmox when there are kernel updates then configure Kernelcare

