 TightVNC is the best remote access solution I have found for managing my htpc home media server. Teamviewer is popular but it was annoying with the nag screens. The TightVNC server can be installed on Windows and be accessed via the client from other Windows, OSX and Linux machines or even your phone. I sometimes use my Android device using VNC Viewer to connect and remotely manage my HTPC home media server. This guide will show you how to install the VNC server and client followed by how to connect and remotely manage the server from a Windows machine.
Remote Access Media Server
Install Tight VNC Server
Time to install tight vnc server on your home media server
Go to the download page and choose either the 32 or 64 bit version
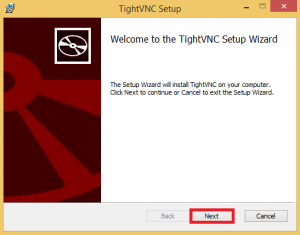
Open it up, click Next.
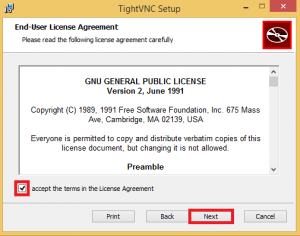
Click I accept and then Next
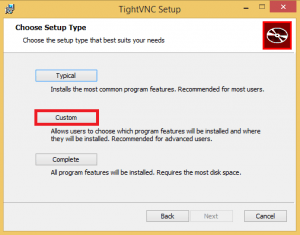
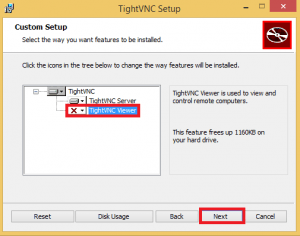
Click Custom
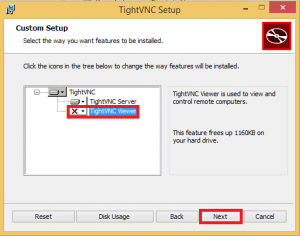
Since this is only for the server you do not need the TightVNC Viewer. Click Next.
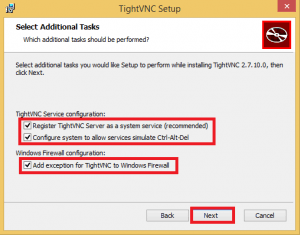
Make sure all of these items are checked so TightVNC runs as a system service.
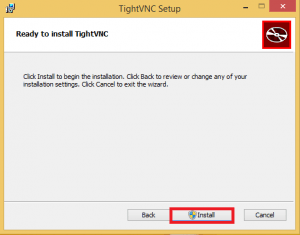
Click Install
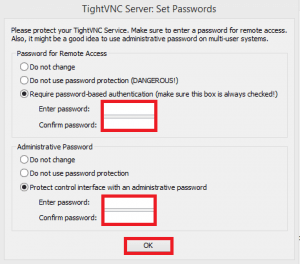
Now you will be prompted to enter the password to access TightVNC.
Make sure you choose a secure password if you will be accessing the server over the internet
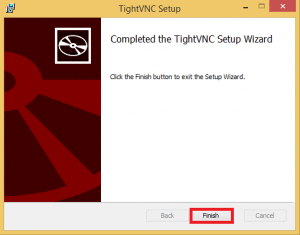
Now click Finish
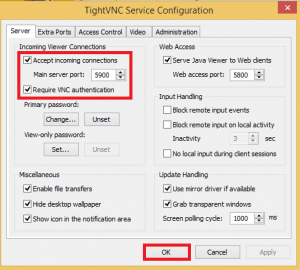
Now double check the incoming connectsions are set correctly. Go into Start and find TightVNC Service Configuration.
Make sure Accept incoming connection is set and the port is 5900. Make sure Require VNC authentication is ticked.
Click OK
Connect to your TightVNC Server from Windows
Grab the same TightVNC Installer but this time choose to install the Viewer only
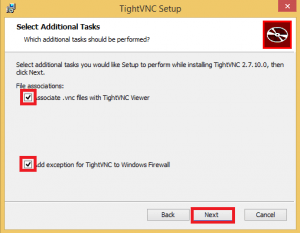
Leave these options checked
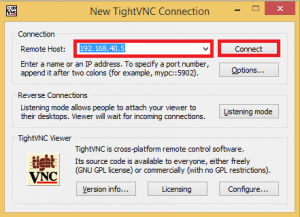
Now open Up TightVNC Viewer from the Start menu.
Type in your home media server's local IP and click Connect.
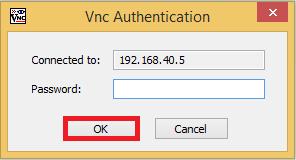
You will be prompted to enter the password you set when you installed the server.
Enter the password and click Ok
Now you have remote access to your media server from within your home network. If you want access to TightVNC outside your home network get a free dynamic dns service with no nags. You will also need to set up port forwarding for port 5900. Now your media server can run headless :).

