 SickRage can be installed on the Synology NAS Servers for automating periodic video downloads from usenet and torrents. This guide shows you how to install SickRage on your Synology NAS as simply as possible. I tested this in a virtual environment and have no doubt that it will work for your Synology NAS at home. Bear in mind there are now two SickRage repositories, one is maintained by the original creator and the other is made by a group of developers who used to work on the original project.
| Usenet Provider | |||||||
|---|---|---|---|---|---|---|---|
| UsenetServer | |||||||
| Newshosting | |||||||
| Frugal | |||||||
| Usenetlink |
Install SickRage on Synology NAS Diskstation
Load up the web interface on your Synology NAS at http://ip.address:5000
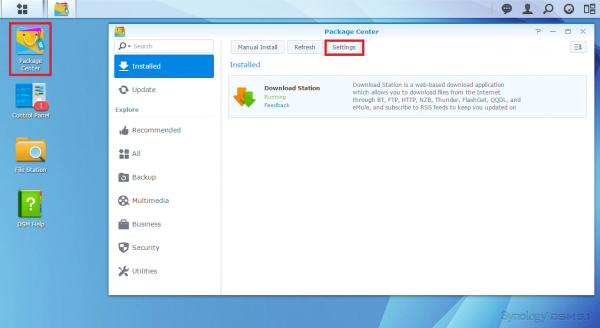
Click Package Manager and then Settings
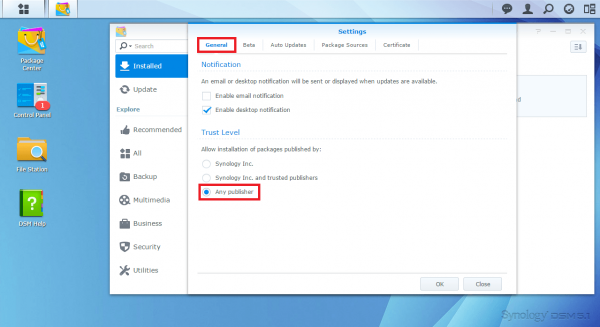
In the General Tab under Trust Level select Any publisher
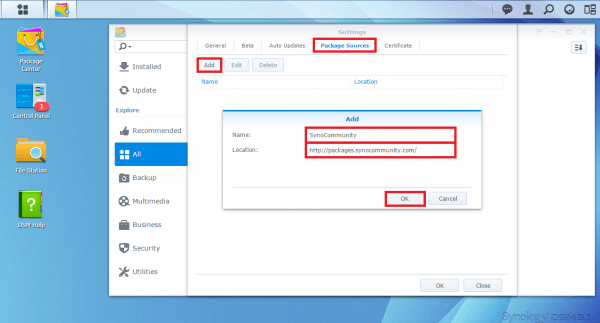
Select the Package Sources tab, click Add and then for Name add SynoCommunity
For Location put http://packages.synocommunity.com and click OK
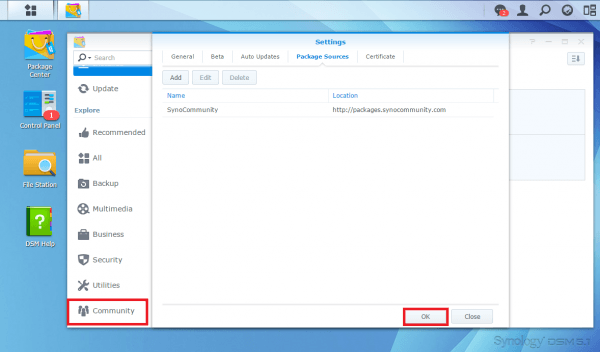
Now you can see the SynoCommunity listed, click OK and then Community in the left pane
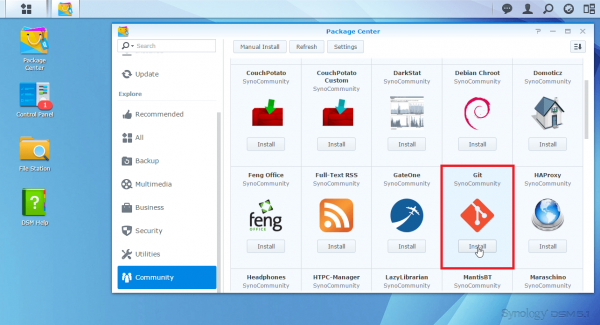
SickRage requires git for pulling the latest release and keeping updated from the source code.
Scroll down and click the Install button for Git
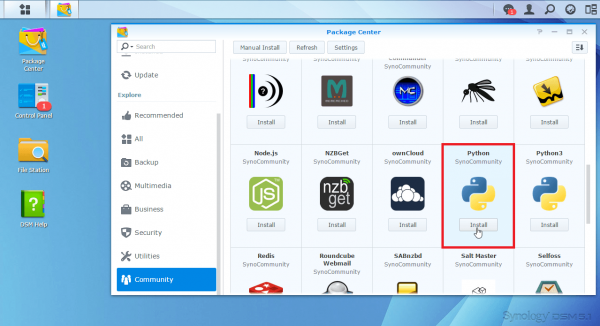
SickRage requires Python to be installed, do not choose Python 3. Click Install.
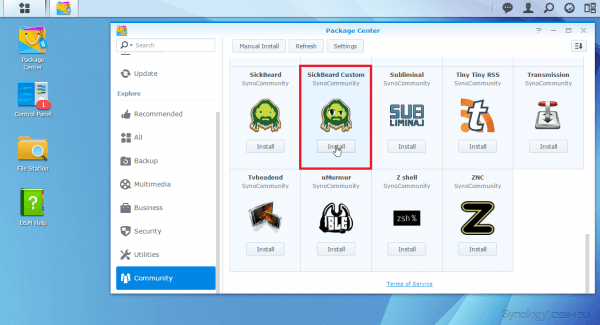
Scroll down and find SickBeard Custom which has the bugged out hippy dude as an icon. Click Install.
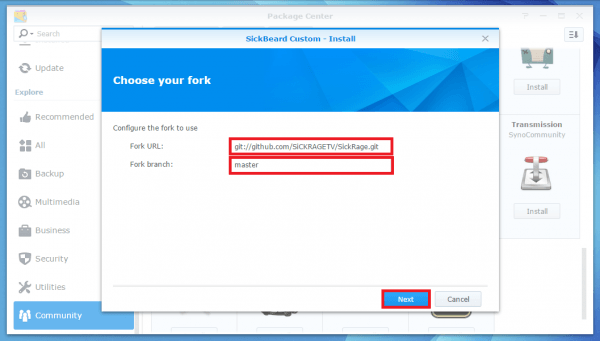
Now you need to enter the SickRage github address for Fork URL, choose only the first or second.
This is the new repo and is recommended
git://github.com/SickRage/SickRage.gitEnter the Fork branch
masterClick Next
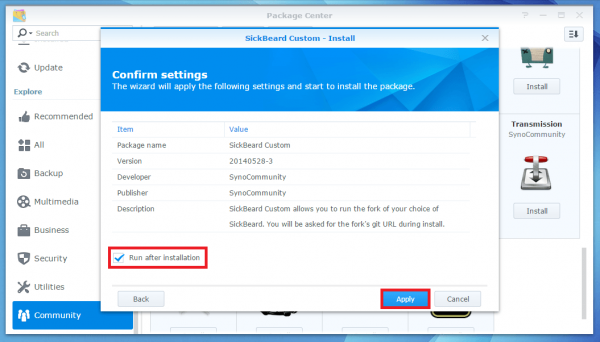
Check Run after installation and click Apply
You can now access SickRage at http://ip.address:8083 and configure SickRage with Transmission, rtorrent or even Synology's own Download Station

