Feature Length Videos
Install Couchpotato Windows
Grab the couchpotato installer
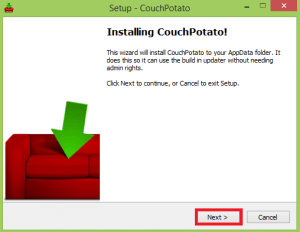
Run the installer and you will see this screen
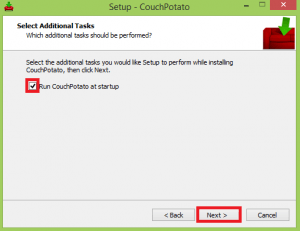
Tell couchpotato to start on boot
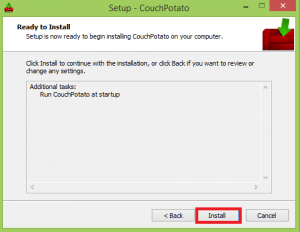
Click install to copy the files for couchpotato
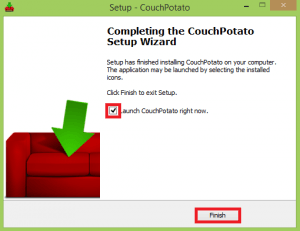
All done, if you want to load the couchpotato web interface, leave it checked and it will automatically load it.
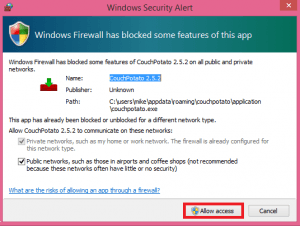
If you do automatically load it make sure you enable it in Windows Firewall.
Click Allow access.
Configure Couchpotato
You will be met with this welcome screen, you can either click the navigation menu at the top or scroll using your mouse wheel.
Scroll or click on General
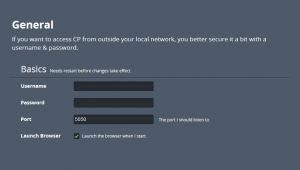
Under the General tab you can specify a username and password to protect the web interface of Couchpotato.
You can also change the default port if you want to feel extra secure.
If you are on Windows and don’t want a browser to automatically start every time the couchpotato service starts, uncheck the box.
Scroll down to get to the Downloaders tab
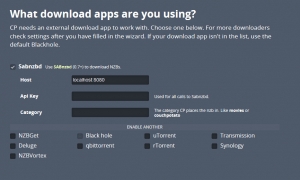
Blackhole is checked by default. Check the usenet downloader you installed earlier. I will do sabnzbd first and nzget afterwards.
This is for sabnzbnd couchpotato integration, you need to paste your API key here.
If for some reason sabnzbd is installed on a different machine enter its IP address in Host.
Type movies for the category
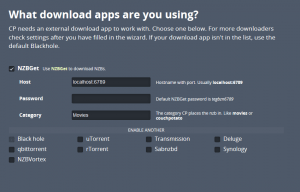
For nzbget, you do not need an API key, if you changed the default username and password or port, enter the correct ones here.
NZBGet has the movies category created by default so you don’t have to change anything else here
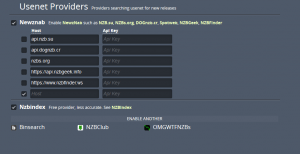
Scroll down past the torrent providers tab to the usenet providers section.
If you are fortunate enough to have VIP accounts with any of the newznab indexers, check the box next to the website’s name and paste your API key.
If you have set up your own private newznab or nzedb usenet indexer you can enter the API address in the bottom blank row and enter its API key.
If for some reason you do not want to use a newznab provider then uncheck the box at the very top.
You can use free indexers like nzbindex or binsearch but you are likely to get fakes and/or viruses so I only recommend it if you are desperate.
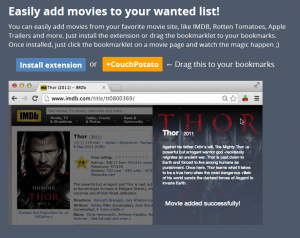
Now scroll down and you are told how you can easily add movies to your couchpotato wanted list through a browser extension.
The browser extension is available for Firefox, Chrome and Safari. Scroll past it for now.
Scroll down and you will see a big green button, click it
Adding Couchpotato Videos
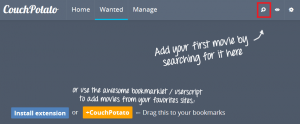
After clicking the big ass green button you will see this screen.
I will show you how to add movies using the manual method but I highly recommend using watchlists which are explained in another guide.
Click the search button.
The search dialog will come up, start typing in your movie name and couchpotato will automatically search its databases for it.
The movie will show up in the dropdown list, click the correct one.
Then you have to choose the desired quality, SD is usually just fine but if you have lots of hard drive space and a fast internet connection you can choose HD.
Click Add
Well done, the movie has been added 🙂
You are welcome to add all the movies you want through this method but it can be tedious.
If you want something more automated like automatic importing of your imdb or trakt.tv watchlist, I have a guide for that on the way.
Now let your htpc home media server check periodically for movies on your list using couchpotato and the power of usenet.
Optional Couchpotato Stuff
Automatic Couchpotato Subtitles Download
Open you couchpotato web interface at http://ip.address:5050
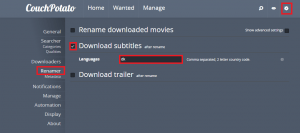
Click settings in the top right hand corner.
Click Renamer in the left pane. Check Download subtitles.
You will need to input the country code of the subtitle language you wish to download in the Language box.
You can find the entire list of country codes here
Increase Couchpotato Search Frequency
Load up couchpotato at http://ip.address:5050
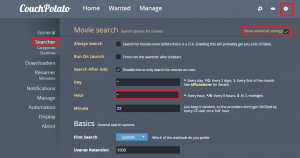
Click settings, then Searcher. Check Advanced Settings.
Under Movie Search change Hour to *
That should do it. Now you have increased the couchpotato search frequency to every hour of every day.

